Block Wall Repair in Queen Creek, AZ
How to read the damage on a Queen Creek wall, which parts of it were designed that way on purpose, and what a sound repair has to satisfy before the Town and your HOA sign off.
Get a Free QuoteStart With How the Wall Was Designed
Many Queen Creek walls were built to one of the Town's published standard details rather than a custom engineered plan. Those details explain a lot of what homeowners notice. The 6-inch and 8-inch masonry fence walls sit on a footing 2 feet wide and 8 inches thick with a #4 bar running through it and vertical bars every 48 inches. The 4-inch interlocking wall works differently: thin panels hang between grouted pilasters on footings 3 feet deep.
Knowing which design you have changes the diagnosis. A crack in the middle of a 4-inch panel means something different from the same crack on a 6-inch wall, and a neat 1-inch gap where a newer wall meets an older one may be exactly what the Town detail asks for. Before anyone quotes a repair, ask them to identify the wall type and explain the failure in terms of that design.
Common Damage and What It Usually Means
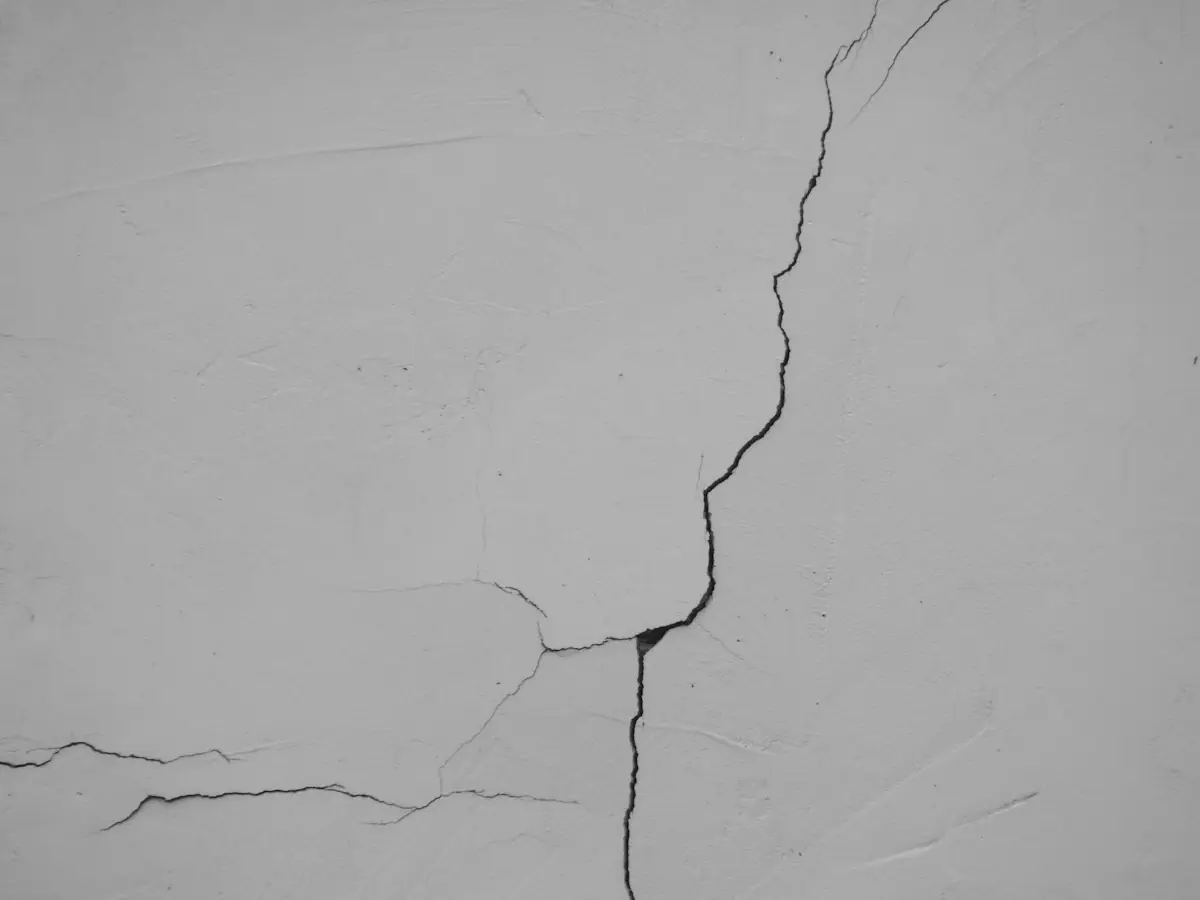
Cracks that zigzag along the joints usually mean part of the wall settled while the rest stayed put. If the panel is still plumb, the joints can be ground out and repointed. If the crack keeps reopening, the cause is below grade.
A panel tipping off vertical points at the footing, at soil that got wet and softened, or at a grade difference pushing on one side. That section generally comes down to the footing and goes back up with new steel and grout.
Interlocking walls built on the Town's pilaster detail carry their strength in grouted pilasters no more than 10 feet 8 inches apart. Movement between a panel and a pilaster needs to be read against that design before anyone caulks over it.
Monsoon runoff following the old Queen Creek and Sonoqui Wash drainage paths can scour soil at the base of a wall. Repairs should restore the drainage openings, not seal them, and should be checked against the lot's drainage pattern.
Corner returns near driveways and pilasters beside RV gates take hits. Broken units can be cut out and replaced, but a pilaster that rotated needs its footing checked as well.
The Town's 4-inch interlocking detail warns that using that wall to contain livestock may cause it to fail. On horse properties, a wall that keeps cracking where animals lean on it needs a stronger design, not another patch.
Water Is the Usual Suspect
Queen Creek's homesteaders farmed along Queen Creek Wash, and the soil still reflects that history. The USDA maps much of the town as Gilman loam, a well-drained stream deposit, so footings here are less often perched on hard caliche than on soil that softens when it stays wet. Sprinkler overspray, a downspout aimed at the base of a wall, or a blocked drainage opening can keep that soil wet for months.
Drainage has been a long-running local project. The first phase of the Sonoqui Wash channel, finished in 2008 with the Flood Control District of Maricopa County, took about 200 homes and 800 acres out of the FEMA floodplain, and a later phase was designed to remove 217 more homes. If your wall sits near one of these channels or a neighborhood retention area, a repair plan should say where water goes after the wall is fixed.
Permits, Matching and the HOA
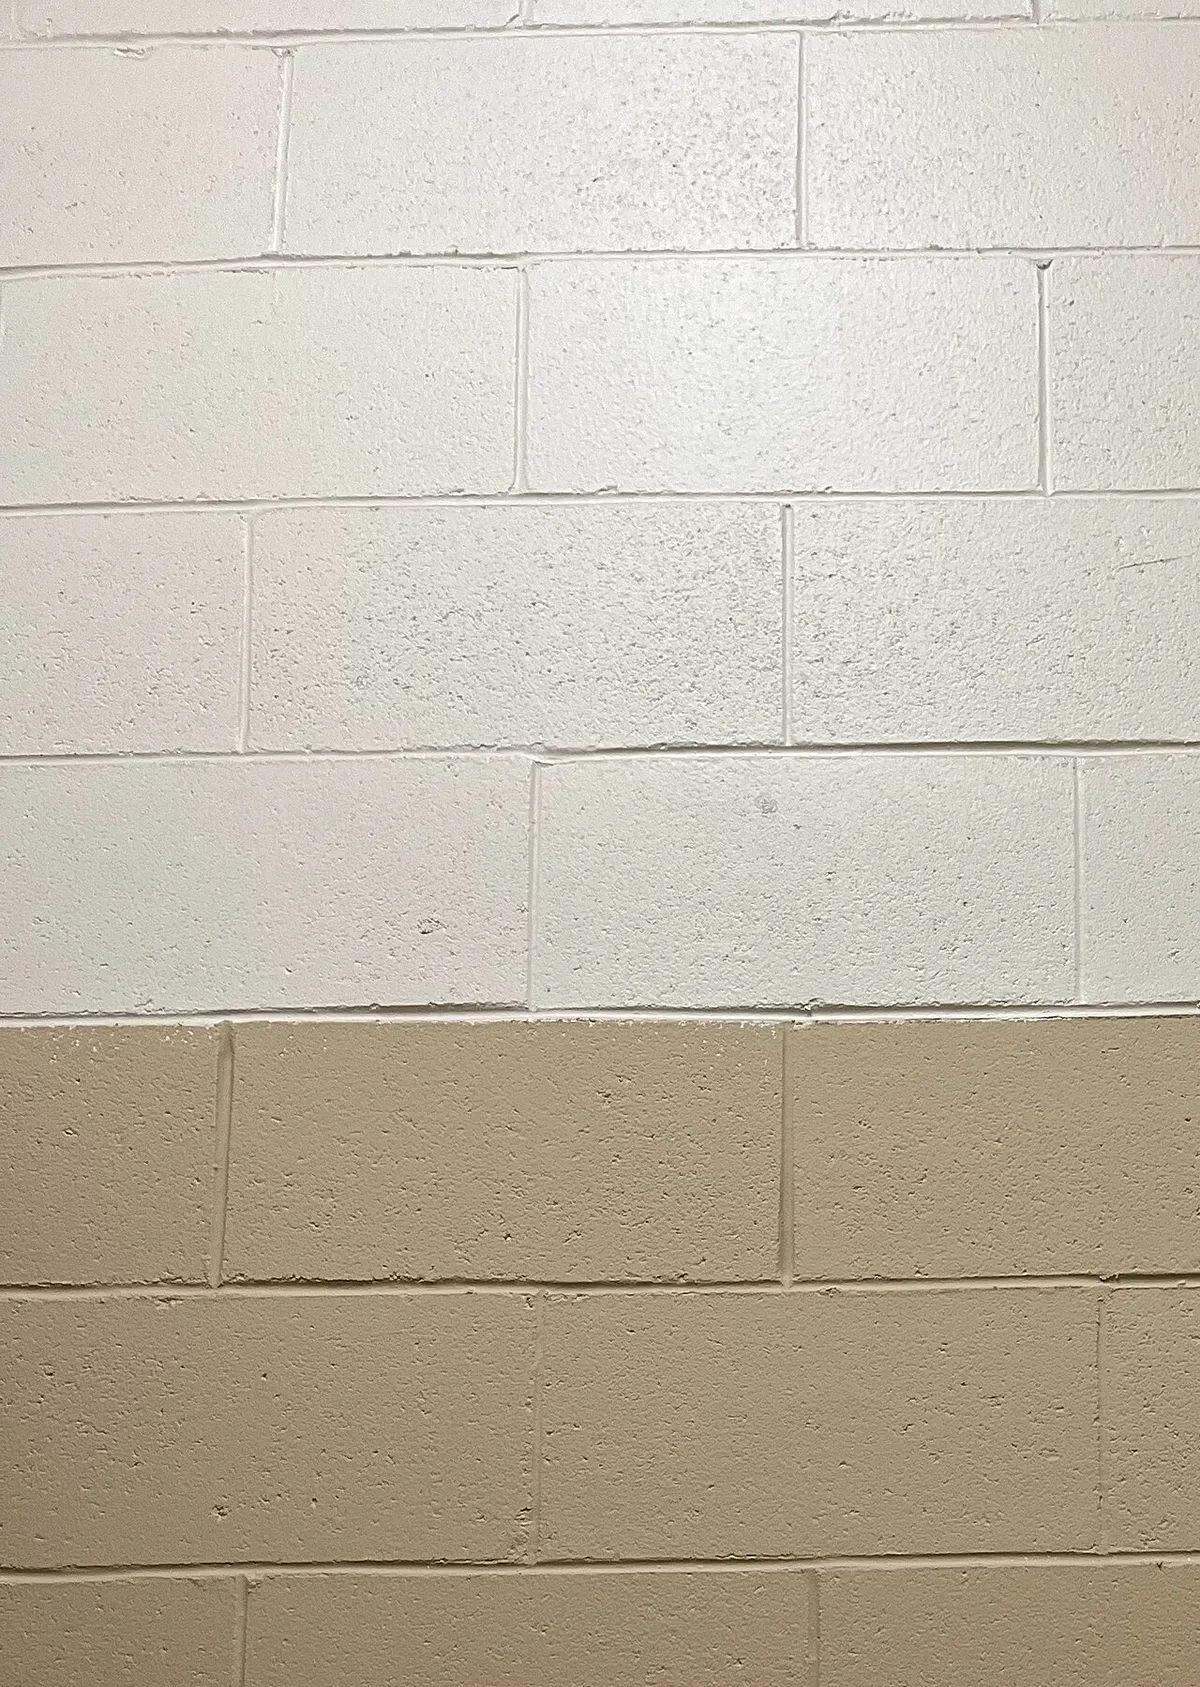
The Town's permit list includes fences and walls, and its Building Division (480-358-3003) will tell you whether a given repair needs a permit. A rebuilt section is new construction and should be expected to follow the same detail or engineered plan as a new wall. Section 5.2 of the Zoning Ordinance also requires fence materials to be durable and consistent with abutting fences, which is the Town's version of the matching rule most HOAs already enforce.
For the HOA, collect photos of the damage, the block size and face texture, the cap profile, and the paint or stucco color before work starts. If the wall is shared with a neighbor or borders a common tract, find out who owns it first, since that decides who signs the application.
Questions to Ask a Repair Contractor
- Which wall design is this, and what failed: the units, the mortar, the steel, or the footing?
- Will you open a test hole at the footing before pricing a rebuild?
- Does this repair need a Town permit, and who pulls it?
- How will the new section tie into the old one, and will the drainage openings stay open?
- Can you show the block, cap and finish you plan to use next to the existing wall?
Not sure whether you have a soil problem? The Queen Creek soil guide shows how to look up your lot.
Wall repair in Queen Creek, starting with what failed and why.
Get a Free Estimate